Sunday, September 29, 2013

Doctor Who Quilt Update #7


My 11th Doctor jacket fabric order from Spoonflower finally arrived this week, so that means more sewing! I had planned to work on the Gallifreyan text squares first, but once I had the plaid in my hands all that changed. 

I spent the week thinking about where the bow tie blocks would fit into the quilt and decided on a strip of bow ties on point (arranged point to point) with the block being a 5.5-inches square when finished. Now that the weekend is here - and my horrible cold/sore throat/laryngitis is on the way out - I headed back to my sewing room.

Good contrast between the two fabrics for this block is required to really see the bow tie when the square is finished. I had already decided on red bow ties because the 11th Doctor jacket fabric has a red stripe through the plaid.

The decision about size was an easy one. A long time ago, I found a tutorial on YouTube about how to construct a dimensional bow tie quilt block. The center of the bow tie forms little pockets that give the square some added interest because the center sticks up a bit from the rest of the square. Luckily for me, the tutorial is  still online: 3-Dimensional Bow Tie Block (just under 9 minutes). I would have preferred to embed the tutorial here, but I just couldn't get it to work. It's worth using the link to see the block constructed, though.

The bow tie square is constructed from 5 squares, 3 that form the bow tie and 2 for the background. The woman conducting the tutorial warns about using squares smaller than 3-inches, and if you watch the tutorial, you will see why. The center square for the bow tie gets scrunched during construction. Anything smaller than a 3-inch square would be impossible to sew and would definitely get lost!

In the tutorial, the bow ties have pointy ends, as you can see from the screen shot below from the tutorial. As we all know, the Doctor's bow tie is not pointy!


 Tutorial Bow Tie Quilt Square

I wanted a bow tie that sort of looks like the Doctor's, so I took the bow tie block once step further. I cropped off the pointy ends and replaced them with more plaid background fabric. As much as possible, I tried to line up the red lines in the plaid. 


The first image below shows the finished bow tie block with 2.75-inch squares of plaid background pinned in place over the pointy ends of the bow tie (right sides of the fabric are together). I drew a pencil line across the block to guide my sewing.

 2.75-inch background square overlaying the quilt block


The next step was to sew along the pencil line. I was VERY careful before doing this step because I wanted the red lines in the plaid to line up with the red lines you can see in the background fabric on the other side of the block. Even though I checked and double checked, I still had to pull out some stitches, reposition the small square and resew the seam - several times! Thank goodness for a sharp seam ripper.


 Seams sewn in matching red thread


After sewing, I flipped the square over on itself, pressed the seam down, and cut off the fabric under the background fabric. There are actually three layers of fabric before the trimming is complete, and you need to eliminate the two bottom ones to control the bulk in the block. With the dimensional center to the bow tie, there's more than enough bulk already.

 Small background fabric squares pressed and trimmed


Here's the finished block below. I poked the eraser of my pencil into one of the "pockets" formed at the center of the bow tie. Each edge of the center square is also open like this one.


Completed bow tie block with dimensional center


The next step is to form the bow ties into a strip that can be sewn into the quilt. I decided to put the bow tie blocks on point.

 Four bow tie blocks arranged "on point" 


I also had to decide what the strip was going to look like. With the bow ties set on point, the quilt strip is made up of smaller strips set at a 45-degree angle. I chose a dark blue star fabric to add contrast and bring some blue into the strip. I did audition other fabrics in my stash, but nothing worked like that blue one.

There was a lot of sewing and trimming involved in making this strip, which I've shown draped along two chairs below.


  Finished bow tie strip


In the next image, you can see one of the diagonal strips that make up the larger, long strip that will go into the quilt. The bow tie block is set on point in the center of the strip, and the triangle at the lower left and upper right make up the rest of the small strip. Actually, constructing it is several steps, too. The bow tie block was 5.5-inches square before I set it into the small strip, so I cut  two 5.5-inch squares from the dark blue star fabric for each strip. When the sewing was done, what looks like triangles were really squares sticking up at the top and bottom that had to be trimmed down to triangles. I did the trimming carefully using my rotary cutter and 24-inch quilting ruler, cutting away part of each dark blue square exactly 1/4-inch from the top and bottom points of the bow tie block. I'm saving the scraps in case I need them later in another part of the quilt.

 
Part of the bow tie strip showing construction of smaller diagonal strips,
running in the image from lower left to upper right


Once the bow tie strip was done, it was about 60-inches long. Time to add it to the TARDIS section! I also had to add batting and some backing fabric, the same planet fabric I used on the back side of the TARDIS section, so there are lots of layers here.Under the TARDIS section (that you can't see the next picture) is pinned from the bottom up: a strip of batting and a strip of backing fabric; the TARDIS section has three layers (the backing, batting, and TARDIS on the top); then on top of the TARDIS section is pinned the bow tie strip. There are six layers in all that have to sewn together carefully. Here they are pinned with the bow tie strip flipped over so you can see what it will look like after it's sewn.


 All layers for the bow tie strip pinned in place


With all those layers, sewing is slow and somewhat tedious. You have to sew with the underside of the bow tie blocks showing up. This is necessary because to keep the nice points on the bow tie blocks that you worked so hard to achieve, you have to sew the long seam joining the bow tie strip and the TARDIS section exactly 1/4-inch from the edge of all six layers of fabric and right next to the points of the bow tie square. By sewing with the underside of the bow tie strip showing, you can see the red thread coming to a point in the corners of the block and sew right into the point. When you flip the strip, the points are still there and perfect! Nothing else will do. If you chop off a point, you have to rip out the seam and resew it until it perfect!

 
 Close-up of one bow tie block with nice points in the four corners of the block.


So, finally, the strip is sewn to the left of the TARDIS section. The long seam is pressed, and I'm back to three layers again in both sections. In the picture below, only the quilting is left for the bow tie strip. Each blue triangle has a straight pin in it to keep the layers together. But here it is! Another section completed!


  Two sections of the quilt completed with the bow tie strip ready to quilt


Well, I won't be able to procrastinate on the Gallifreyan text squares any longer. There are some decisions to make, though. How large will the text square be? I originally thought the squares would be 4-inches finished, but now I have to decide whether I want them the same size as the bow tie blocks, which would make the Gallifreyan strip the same width as the bow tie strip. However, I don't have a lot of that dark blue star fabric left, having used over half the 1-yard piece with which I started. I have some scraps, but will they be enough? Maybe, the Gallifreyan strip should have a red background instead of dark blue to bring some of the bow tie fabric over to the other side of the quilt. Also, I have eleven Gallifreyan text images I want to use, so maybe, the text blocks should be smaller so I can fit all of them on the right side of the TARDIS. Maybe, I can have the strip underneath (and above?) the TARDIS as well as to the right. See? Lots of things to think through before I start cutting fabric.  So, until I figure out what's next, have a good one!


Sunday, September 15, 2013

Doctor Who Quilt Update #6


What to do on a rainy day? Quilt, of course! And, it's high time, too. It's been a while since I worked on my 11th Doctor quilt, but I got to it today, working on the "mechanical," but important, stuff rather than the creative stuff.

The center of the quilt, the TARDIS itself, is now almost completely quilted, just have to figure out how I want to quilt the light.

Here's the TARDIS layered on batting and backing, pinned in place, laid out on my work table and ready to quilt. 


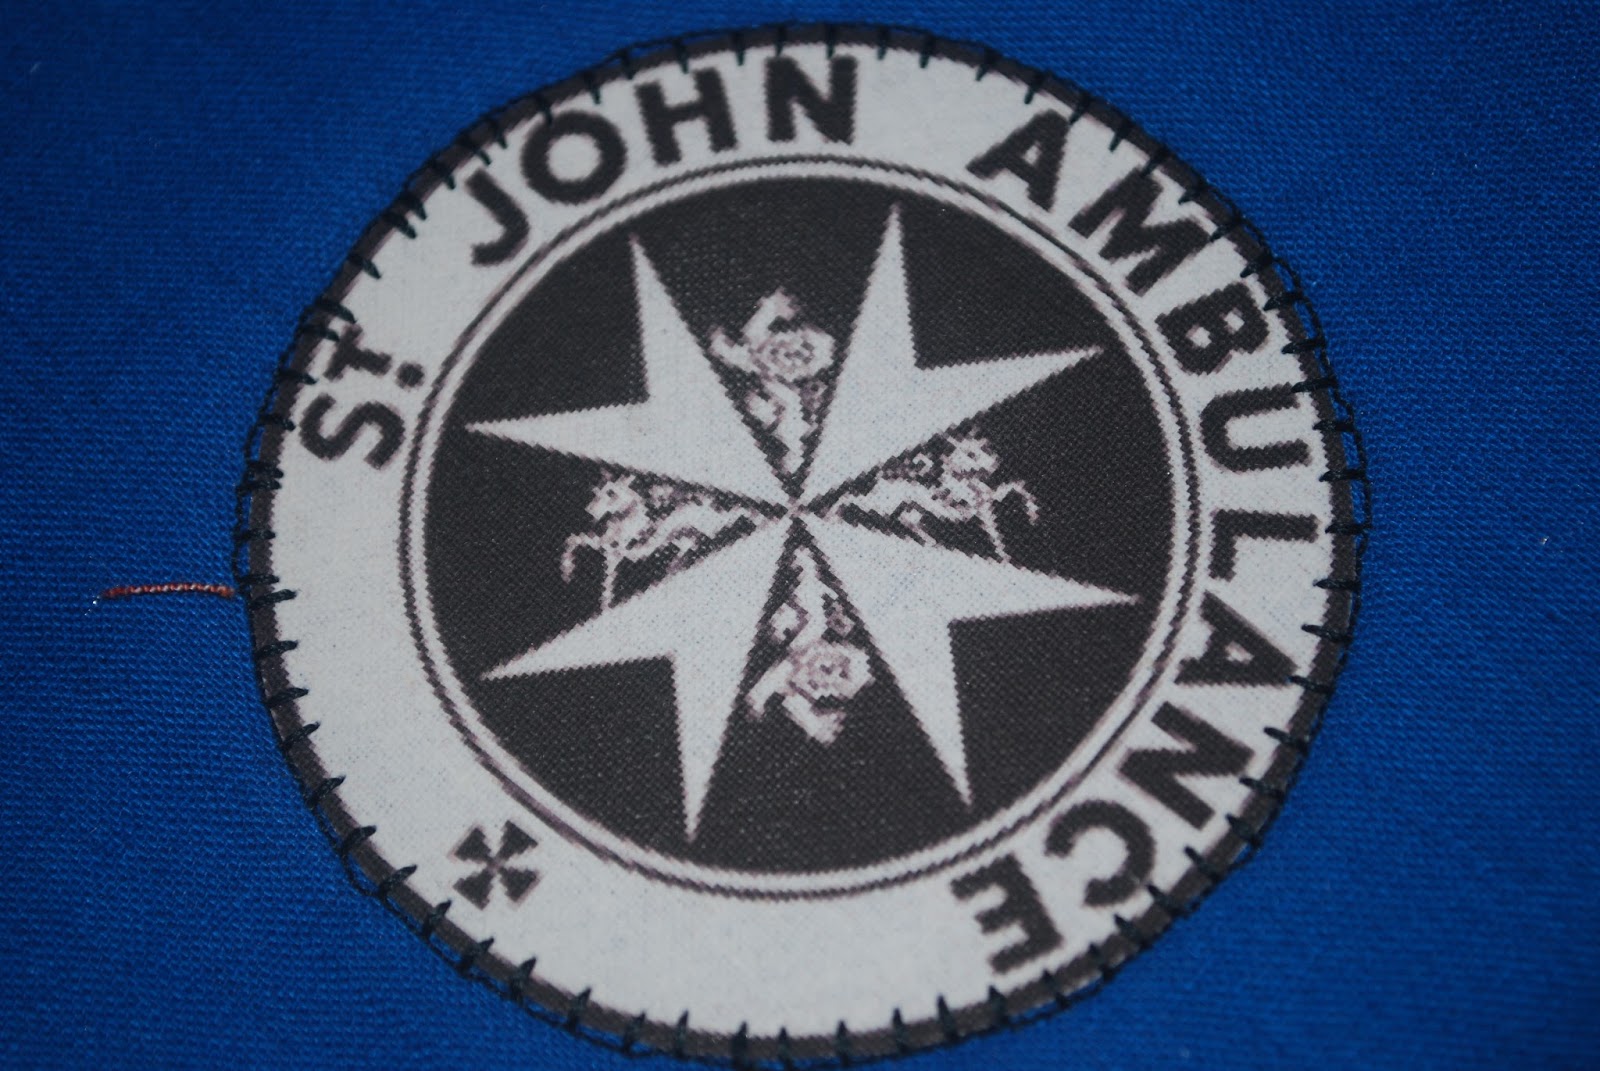
Frankly, I enjoy the piecing more than the quilting, which is part of why it took me so long to get into this step. Before I pinned the quilt down, though, I did some stitching around the panes of glass and around the St. John Ambulance decal. I used a machine stitch that looks like a blanket stitch on both areas.


I wanted to make sure they stayed put over time. The decal is held down with transfer adhesive, and the tulle is sewn into the seams, but you never know! Better safe than sorry later. 

Today, I quilted the vertical and horizontal seams. As I said earlier, I still have to decide on how to  - and how much to - quilt the light, but the center section of the quilt is essentially done. Here it is! The tiles in the picture are around 12-inches square, which gives you an idea of the center panel's dimensions.


 Quilting done!


 Baptism by cat!


 Backing fabric: Planets are cool!


Now that the center panel is essentially finished, I can start planning the right and left panels. I have several options: (1) Create a rectangular border of red bow tie squares; (2) Create a rectangular border of the Doctor's plaid jacket fabric interspersed with the Gallifreyan text images; (3) Somehow combine bow ties and Gallifreyan images together into one rectangular border: or, (4) Create something asymmetrical using both bow ties and Gallifreyan images. And, that what just come to me at the moment. I'll need some time to think about it. I suspect I will create the individual bow tie and Gallifreyan squares (4.5 inches) and place them around the center panel to find a look I like before I do any actual sewing.


Whatever, I decide, I'm still waiting for my order of the Doctor's plaid jacket fabric to come from Spoonflower, and I have to finalize my Gallifreyan images and print them before I can do anything. That should give me plenty of time for thought. 

Tuesday, September 3, 2013

Doctor Who Quilt Update #5


I spent a lot of time the last couple of days playing around with the Gallifreyan text images. I'm never quite satisfied and keep making changes. It's hard to remember that there's really not "right" way to write in Gallifreyan. The system I'm using is from Loren Sherman at Sherman's Planet. It's a good system and the directions are clear. However, there's also opportunity for the personal, artistic touch of the person doing the writing.You do have to get the letters right, though! 

Here are the latest versions of two squares I've come up with. There are eleven (of course!) altogether.


I don't have an expensive image editor, so here's how I did it.

First, using the PDF Guide to Gallifreyan from Sherman's Planet, I created the images in MS Paint. Simple, but effective. Then, I saved each image as a .jpg file. But, I really needed a transparent GIF for the quilt squares. So, I also saved the Paint file as a GIF and used the TransWeb Transparent-GIF Service from MIT. You have to have a place online to store your images as the service requires a URL for the image in order to work. I don't know what I'll do if this service is ever discontinued! I've used it before to great effect. 


I had already created the tweedy-looking image by manipulating a scanned image of real fabric. Using PowerPoint, I layered the transparent GIF over the tweed image and added the text label. I made a separate slide for each GIF and saved them as .jpg's in a separate folder. PowerPoint lets you save all or just a current slide as a .jpg. It's a great time-saver. VoilĂ ! Text images! They're not very fancy, granted, but they are in keeping my one rule for this quilt: "Simplify! Simplify! Simplify!" 

Once I'm done fiddling with the look of the images, I will insert all of them into a word document (to get more than one image on a page, something my image printing software can't seem to do . . . though it might be me. LOL!). And, PRINT! On printable fabric, of course, which I've already written about earlier, so I won't say more here.

I have been thinking about putting them into the quilt by hand appliquing each circle, but that seems like the opposite of "Simplify!" so it's not a serious option right now. 

The simple way to do it is to use squares. The squares will be 4.5" X 4.5" when printed, the same size I'm planning for the bow tie squares. Then, I'll have to figure out where I want them in the quilt. Oh, well! Another decision to make!


Sunday, September 1, 2013

Doctor Who Quilt Update #4


I couldn't wait another day! Here's the center of the quilt, the completed TARDIS. I'm really happy with the way it came out.

I'm planning to quilt the center before I add anything else. I don't have an expensive quilting set-up. In fact, I don't have a large table to hold the weight of even this much fabric as I quilt. So, I will layer and quilt the TARDIS and then quilt as I go with the remaining sections of the quilt, adding to the width.

Time for a break from sewing, though, as I work on the Gallifreyan text images for a change of pace. 


Doctor Who Quilt Update #3


Finally! The TARDIS light is finished! It took me quite a few hours over two days to get it just right. Still, it's not perfect. If any of you reading this are quilters and look really close, you will see what I mean. I'm happy with the result though.


The light is made up of 81 pieces. Most of them are 1.5" X 1.5" squares before they are sewn together.  It's hard to work with such small pieces. Plus, the squares are "half square triangles" that have to be constructed from two different fabrics. I started with 2" X 2" square, pinned them together, drew a pencil line from point to point, and sewed 1/4" away from each side of the pencil line. Then, I cut along the line. That resulted in two half square triangles. They had to be trimmed down to 1.5" X 1.5" squares. Omnigrid rulers are fantastic for this job. I have a 6.5" square ruler that was perfect and used an Olfa rotary cutter to trim each piece. In the image below, you can see two sample squares I started with, the line lightly drawn on the cream square, my Olfa rotary cutter to one side, and the sewn half square triangle set under the Omnigrid ruler, ready to be trimmed. They are all sitting on an Olfa cutting mat used with the rotary cutter. It's important to have skills, but having the right tools is indispensable.


Here are some pictures of the light as I was constructing it. The first image shows the first row of trimmed half square triangles before and after I constructed the first (bottom) row of the light.


I completed the first three bottom rows on Day 1 and the remaining rows on Day 2. Here's the light with the last 3 rows set up to be sewn along with the section of the light I had finished up to that point. You can see the light taking shape.


And, tada! Here's the finished light ready to be sewn to the top of the TARDIS. It is 8.5" X 8.5" square and will be 8" X 8" in the quilt.


The light square at the center is made up of white, cream and yellow. It's hard to see the yellow in the image above, but a little easier in the close up of the center below where I used a print of white rays spreading out from the center of the square to represent the brightest part of the TARDIS light.


Can't wait to add the light to the rest of the quilt's center. That's right, the TARDIS is the center of the quilt. More to come!


Thursday, August 29, 2013

Doctor Who Quilt Update #2

Some people have asked me where I got the "Pull to Open" and "Police Box" signs. I purchased them on Spoonflower. Just search for Doctor Who! Lots of fabric there, custom so it's a little pricey. But, well worth it. You actually can't buy just one of the "Police Box" sign. Buy the fat quarter, and you get several of them. Never know what they might be good for in the future. Tote bag? Embellish the back of a jacket? Lots of opportunities!


Wednesday, August 28, 2013

Time for a TARDIS Quilt Update #1!

Time for a TARDIS Quilt Update #1!

Finishing the TARDIS Front:


In keeping with my plan to "Simplify! Simplify! Simplify!" as Henry David Thoreau advised, I've kept the front of the TARDIS very basic. This is supposed to be a fun project, after all, not something that will be frustrating and more time-consuming than I have time to consume. I finished the TARDIS roof and added the St. John Ambulance decal to the door.

The roof, with it's 10-degree slant (that I decided on after looking at photos of the actual prop for Doctor Who and considering what would look good on my interpretation of the box) was more confusing that I expected. First, I had to draw a pattern strip with three sections (roof and two sky sections), cut the pieces apart, add seam allowances, and sew the three pieces together. You'd think it would be easy, but the long bias seam was messy. And, frankly, the first time I pinned a blue sky piece to one side of the roof, I pinned it on backwards so the sky was sticking up in the air instead of running parallel to the roof. Thank goodness for straight pins! At least I didn't have to rip out a seam. It just shows that now matter how good your skills are at something, you can still mess up. There's a small flat section at the upper middle of the roof where the light will sit.


Then, came the St. John Ambulance decal. I found lots of images online and chose one that was a good size. I bought printable fabric to make an actual decal I could put on the quilt. The product I used is Sew-In Colorfast Fabric Sheets for Inkjet Printers from June Tailor, Inc. It was the first time I used this product and found it easy to use following the excellent directions on the package.  In fact, I printed a whole 8.5" X 11" sheet full of decals. Then I used an iron-on adhesive, HeatnBond Lite, from Therm O Web Adhesives, on the back of the decal. Really simple to use. The adhesive is on white paper. You cut out the size you need from the roll, place it adhesive-side down on the back of the item you're working with and press. There are good directions on this product, too. After letting the decal cool, I cut around it carefully with sharp scissors and peeled off the paper. Then, all I had to do was place the decal where I wanted it and pressed again. It takes only about 8-10 seconds for the bond to be complete. Later, I'll sew around the decal to make sure it's permanently attached.


What's Coming Next?


TARDIS Light:


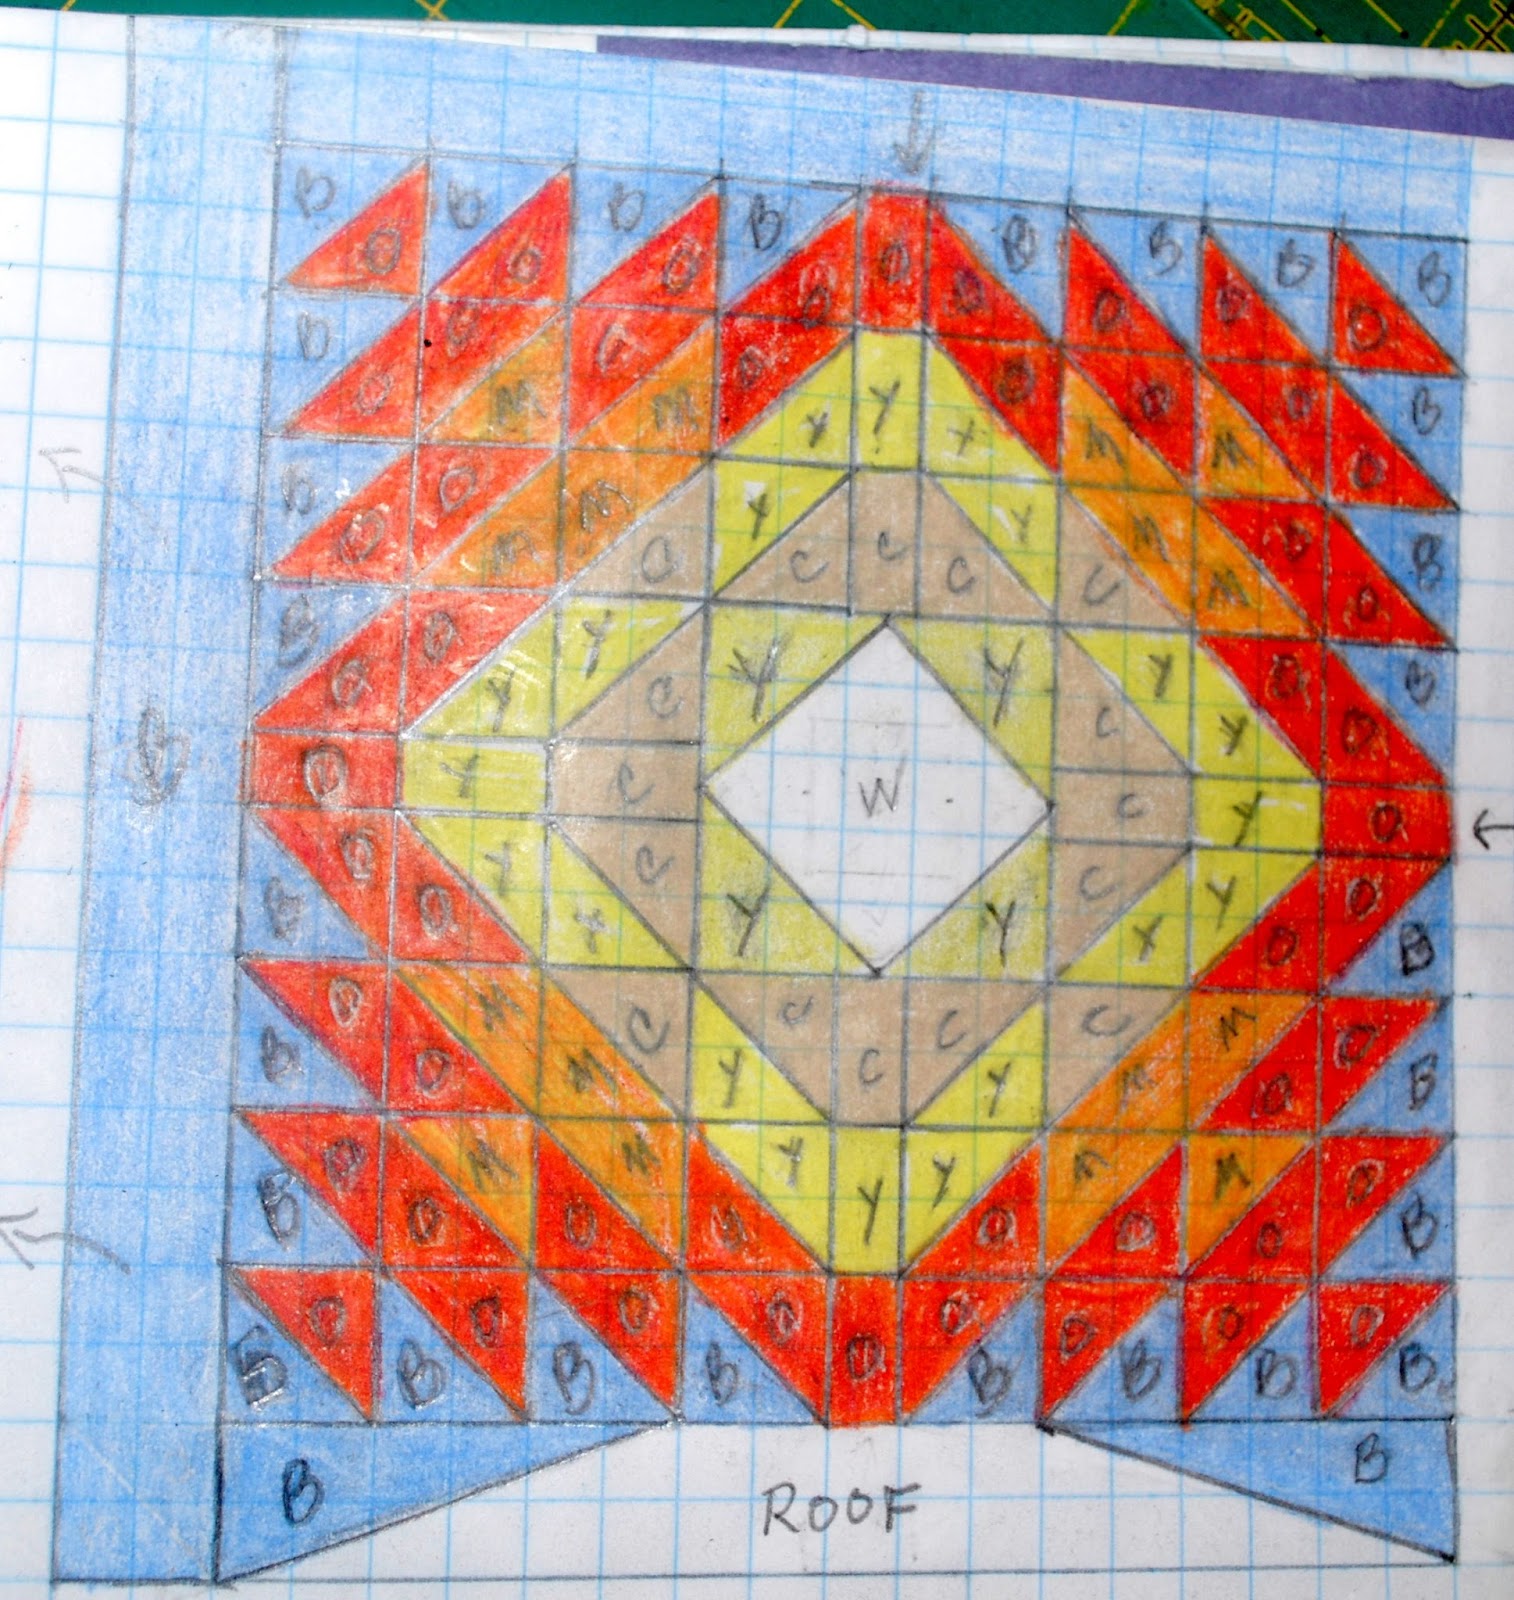
Now that the roof is up, I need a light. Should it be on or off? That was my first question, and I decided that it had to be on. I also needed some inspiration and a plan. I did look at what other people had posted online to get some ideas and decided on an inset of tiny squares radiating out from a white center. I drew a couple of possibilities on graph paper and decided on this one:


The colors are approximate. The B sections will match the sky fabric that is around the TARDIS now, and the dark orangey-red will actually be a print with swirls in it. The center is a print, white on white, with rays spreading out from the center of the diamond, perfect for the center of the light.

I did see one light online similar to this one, a square, and although I would have liked a rectangle stretching across the top of the TARDIS, again I stuck to Rule #1. OK. It's not the Doctor's lies! It's that "Simplify!" quotation from Thoreau. 

I'm still thinking about size. The finished light can be smaller with each square that makes up the light being 1-square when the light is done, making the completed light 8.5-inches square. Or, I could make it a little larger by having each little square be 1.5-inches square so that the finished light would be 12.75-inches square. The larger square will be easier to work with as I have a shortcut for that size, but I haven't made the size decision yet. This section of the quilt will be the next part of the project.


 Gallifreyan Text:


I've also been thinking ahead to putting some Gallifreyan text into the quilt. But how? I took a break from piecing the front of the TARDIS to try my hand at embroidering the text. I thought it would add a nice handmade element. But, the samples did not look good to me. The first one, on the right in the image below, looked messy to me, out of round. The second attempt, on the left, was no less messy. I just gave up. I need a more streamlined look.


 Geronimo!


Therefore, I'm going to experiment with printable fabric again. I've already played around a bit, creating a tweedy-looking background for the images from scanning and then manipulating the image of an actual piece of fabric. Then, I created the Gallifreyan text, turned it into a transparent GIF and applied it on top of the background. Here's "Geronimo!" again:


It's a much slicker look, at least on my computer screen. I think it'll look good on printable fabric, too. I used the Gallifreyan Translator that is downloadable from Sherman's Planet to create the text here. It's really easy and fun to use. I recommend downloading it and have a go at writing your name in Gallifreyan. There's also a PDF file showing how to use this system to write your own text. When I actually get to creating the images I will use in the quilt, I will probably use the PDF as a guide to come up with my own version of the images, maybe something more spread out, like the Gallifreyan on the side of the Doctor's cot in "A Good Man Goes to War."


So, after the TARDIS light is done comes the text squares, which will be 4" X 4" finished. See you next time, after I finish the TARDIS light.