Time for a TARDIS Quilt Update #1!
Finishing the TARDIS Front:
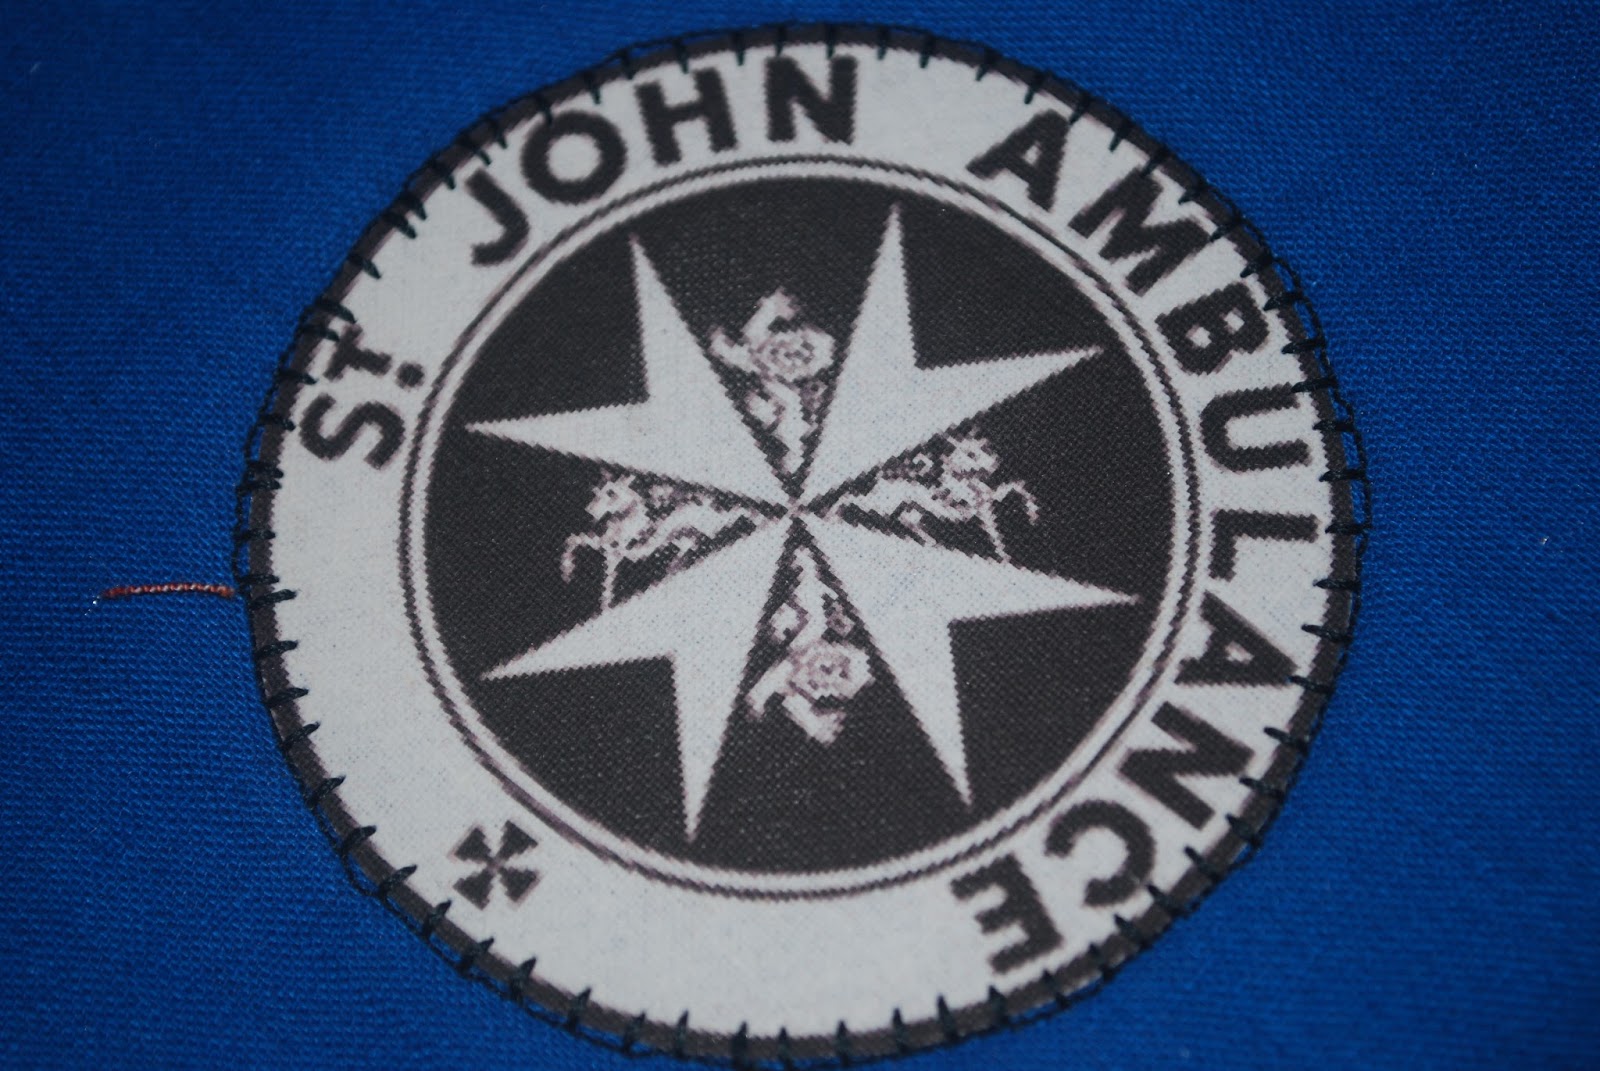
In keeping with my plan to "Simplify! Simplify! Simplify!" as Henry David Thoreau advised, I've kept the front of the TARDIS very basic. This is supposed to be a fun project, after all, not something that will be frustrating and more time-consuming than I have time to consume. I finished the TARDIS roof and added the St. John Ambulance decal to the door.
The roof, with it's 10-degree slant (that I decided on after looking at photos of the actual prop for Doctor Who and considering what would look good on my interpretation of the box) was more confusing that I expected. First, I had to draw a pattern strip with three sections (roof and two sky sections), cut the pieces apart, add seam allowances, and sew the three pieces together. You'd think it would be easy, but the long bias seam was messy. And, frankly, the first time I pinned a blue sky piece to one side of the roof, I pinned it on backwards so the sky was sticking up in the air instead of running parallel to the roof. Thank goodness for straight pins! At least I didn't have to rip out a seam. It just shows that now matter how good your skills are at something, you can still mess up. There's a small flat section at the upper middle of the roof where the light will sit.

Then, came the St. John Ambulance decal. I found lots of images online and chose one that was a good size. I bought printable fabric to make an actual decal I could put on the quilt. The product I used is
Sew-In Colorfast Fabric Sheets for Inkjet Printers from
June Tailor, Inc. It was the first time I used this product and found it easy to use following the excellent directions on the package. In fact, I printed a whole 8.5" X 11" sheet full of decals. Then I used an iron-on adhesive,
HeatnBond Lite, from
Therm O Web Adhesives, on the back of the decal. Really simple to use. The adhesive is on white paper. You cut out the size you need from the roll, place it adhesive-side down on the back of the item you're working with and press. There are good directions on this product, too. After letting the decal cool, I cut around it carefully with sharp scissors and peeled off the paper. Then, all I had to do was place the decal where I wanted it and pressed again. It takes only about 8-10 seconds for the bond to be complete. Later, I'll sew around the decal to make sure it's permanently attached.

What's Coming Next?
TARDIS Light:
Now that the roof is up, I need a light. Should it be on or off? That was my first question, and I decided that it had to be on. I also needed some inspiration and a plan. I did look at what other people had posted online to get some ideas and decided on an inset of tiny squares radiating out from a white center. I drew a couple of possibilities on graph paper and decided on this one:
The colors are approximate. The B sections will match the sky fabric that is around the TARDIS now, and the dark orangey-red will actually be a print with swirls in it. The center is a print, white on white, with rays spreading out from the center of the diamond, perfect for the center of the light.
I did see one light online similar to this one, a square, and although I would have liked a rectangle stretching across the top of the TARDIS, again I stuck to Rule #1. OK. It's not the Doctor's lies! It's that "Simplify!" quotation from Thoreau.
I'm still thinking about size. The finished light can be smaller with each square that makes up the light being 1-square when the light is done, making the completed light 8.5-inches square. Or, I could make it a little larger by having each little square be 1.5-inches square so that the finished light would be 12.75-inches square. The larger square will be easier to work with as I have a shortcut for that size, but I haven't made the size decision yet. This section of the quilt will be the next part of the project.
Gallifreyan Text:
I've also been thinking ahead to putting some Gallifreyan text into the quilt. But how? I took a break from piecing the front of the TARDIS to try my hand at embroidering the text. I thought it would add a nice handmade element. But, the samples did not look good to me. The first one, on the right in the image below, looked messy to me, out of round. The second attempt, on the left, was no less messy. I just gave up. I need a more streamlined look.
Geronimo!
Therefore, I'm going to experiment with printable fabric again. I've already played around a bit, creating a tweedy-looking background for the images from scanning and then manipulating the image of an actual piece of fabric. Then, I created the Gallifreyan text, turned it into a transparent GIF and applied it on top of the background. Here's "Geronimo!" again:

It's a much slicker look, at least on my computer screen. I think it'll look good on printable fabric, too. I used the Gallifreyan Translator that is downloadable from
Sherman's Planet to create the text here. It's really easy and fun to use. I recommend downloading it and have a go at writing your name in Gallifreyan. There's also a PDF file showing how to use this system to write your own text. When I actually get to creating the images I will use in the quilt, I will probably use the PDF as a guide to come up with my own version of the images, maybe something more spread out, like the Gallifreyan on the side of the Doctor's cot in "A Good Man Goes to War."
So, after the TARDIS light is done comes the text squares, which will be 4" X 4" finished. See you next time, after I finish the TARDIS light.


